YOU SHOULD ALMOST NEVER HAVE TO DO THIS! ONLY CONSIDER FOLLOWING THESE STEPS IF YOU CHANGE YOUR WIFI ROUTER OR HOMEWIFI SETUP. IF YOU ARE UNSURE IF YOU SHOULD TRY THIS, PLEASE CONTACT YOUR LOCAL DEALER TO CONFIRM.
IMPORTANT NOTE!!
IF YOU DO DECIDE TO GET A NEW ROUTER OR WIFI SYSTEM, YOU CAN AVOID ALL OF THE FOLLOWING PROCEDURES IF YOU CAN SET UP YOUR NEW ROUTER/WIFI SYSTEM TO HAVE THE EXACT SAME NETWORK NAME (SSID) AND PASSWORD AS YOUR OLD ROUTER/WIFI SYSTEM. IF YOU DO THAT THEN THE CONTROLLER IS PROGRAMMED TO LOOK FOR THAT SSID AND ALSO USE THAT SAME PASSWORD AND IT SHOULD CONNECT NORMALLY. OTHERWISE, YOU WILL NEED TO FOLLOW THE PROCEDURES BELOW.
Here are the basic steps to follow.
NOTE 1: Please note that the JellyFish Controller will only connect to wireless routers that are outputting a 2.4G signal. Many routers also include a 5G network and sometimes even a 6G network. The JellyFish Controller will not detect or connect to those and any 5G or 6G networks that your WIFI router is putting out will not be displayed as an available network on the controller WIFI setup screen. Please ensure that a 2.4G signal is enabled for your router (most routers have this enabled by default)
NOTE 2: If you have a “mesh” network (aka… a main HUB router and then some satellite mesh routers routers throughout your home), then it is a good idea to temporarily unplug the satellite routers and only have the main “parent” mesh router active while setting up the WIFI. Hopefully the controller can reach the parent router with a good signal. The reason for unplugging the satellite routers is that sometimes if the JellyFish Controller gets set up to a satellite mesh router, it may have problems recognizing when someone is connected the parent router and trying to operate the controller. This is a common glitch with some mesh networks).
You can enable the satellite routers after the setup to the main parent router is successful.
NOTE 3: If you have WIFI “repeaters” or “extenders” in your home, it is a good idea to unplug all of them… except for the one closest to the controller during setup. The reason for this is because initially during the WIFI setup your smart device/phone should be connected to the SAME WIFI device as the one selected on the controller WIFI setup screen. If you have multiple extenders/repeaters in your home, you could get into the situation where the controller connects to the nearest repeater/extender, but your phone has connected to a different repeater/extender elsewhere and they are not communicating properly because they are not on the SAME network.
![]()
STEPS TO RESET YOUR WIFI
STEP 1) Press the MENU button once and then hold the MENU button on your controller for 10 seconds. This will get you into the “SERVICE MENU”
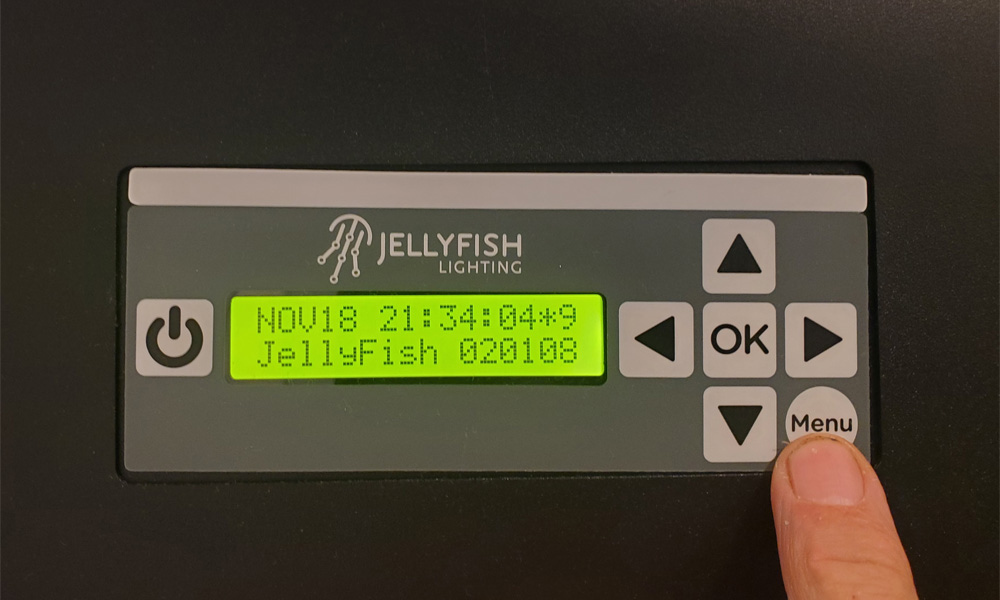
STEP 2) Wait for the Menu to display (it defaults to the DATE display)
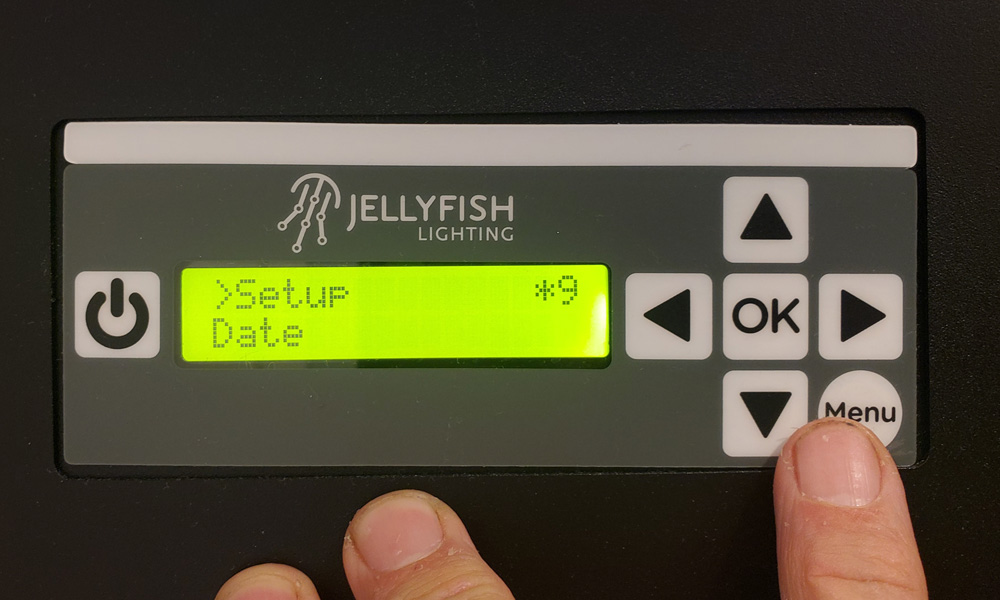
STEP 3) Press the down arrow until WIFI is displayed
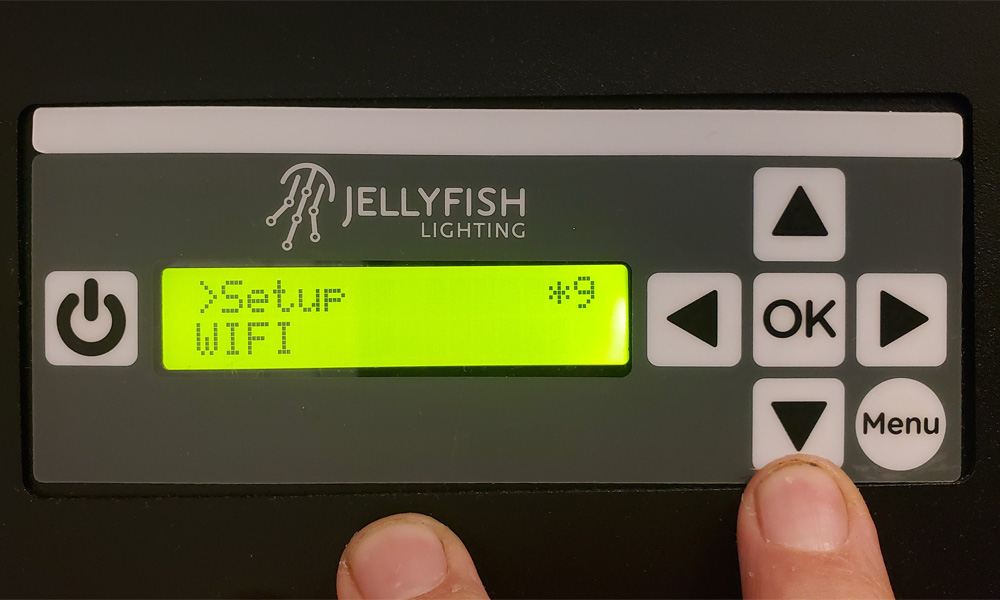
STEP 4) Click OK and then click OK again when the display says RESET WIFI. This will reset the WIFI settings back to factory default.
NOTE: Make sure you select RESET WIFI… not RESTART WIFI. If you select RESTART WIFI the only thing that will happen is that the controller will restart the WIFI connection… but it won’t be reset to the default settings.
You have now successfully reset your JellyFish Controller WIFI back to the factory settings. (Not the rest of the controller… just the WIFI connectivity)
Now you need to reconnect your controller to your local WIFI system.
RECONNECTING YOUR CONTROLLER TO YOUR LOCAL WIFI NETWORK
STEP 1) Make sure that you have downloaded the JF Cloud 2.0 App and installed it on your phone. Open the app and make sure that you have created an account and logged in.
STEP 2) Go to your smart device (phone, tablet, iPad, etc..) and go to Settings >> WIFI
STEP 3) Search the WIFI local network devices and you should now see a network there called something like JELLYFISH – XXXX. Select that network. When it asks for a password, type “bigfish10”. That is the factory default password for the controller. It will connect you to the controller.
NOTE 1: Some smart devices may alert you that there is no internet connection on that network and ask you if you want to stay connected. You must stay connected.
STEP 4) After you have connected directly to the JELLYFISH–XXX network, go back and open the JELLYFISH CLOUD 2.0 APP.
You should get a screen that says that the app is unable to connect to the JellyFish server. This is normal and expected… because your phone is not connected to the internet at this time. Remember, you are connected directly to the JELLYFISH–XXX network, not the internet.
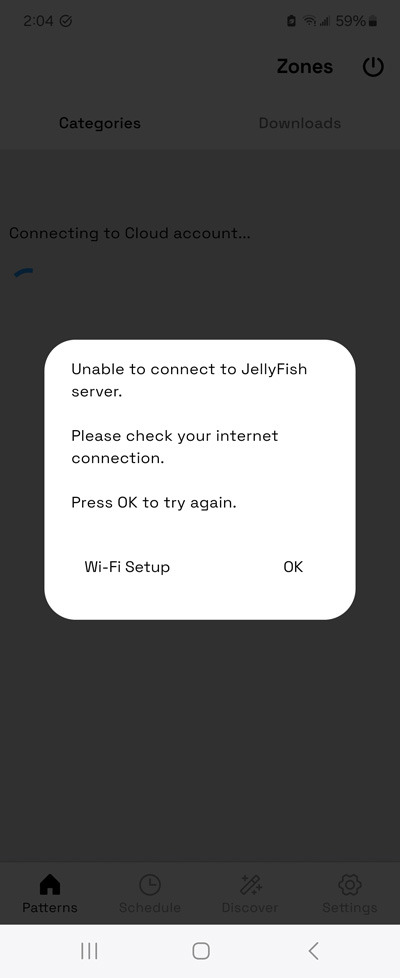
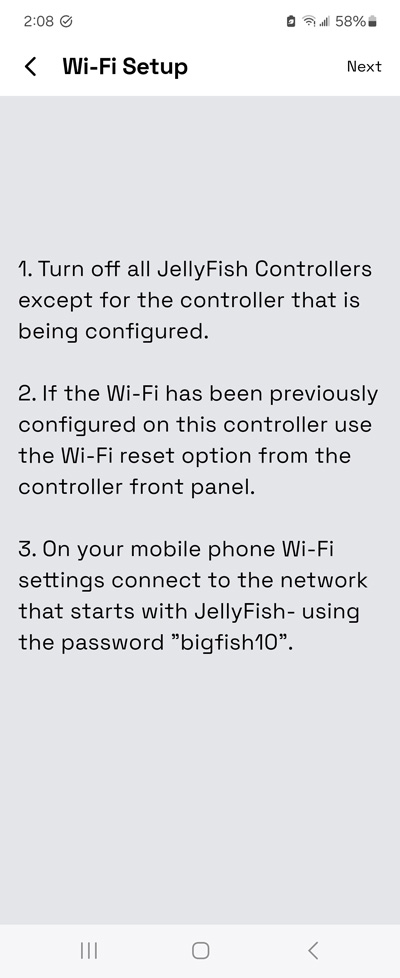
STEP 5) Click on WI-FI Setup, then you can ignore the instructions on the screenshot below (we have already done that), and then click NEXT (in the top right corner)
STEP 6) On the next screen, your controller should display all of the local WIFI networks that it has found. Click on your network and then click NEXT.
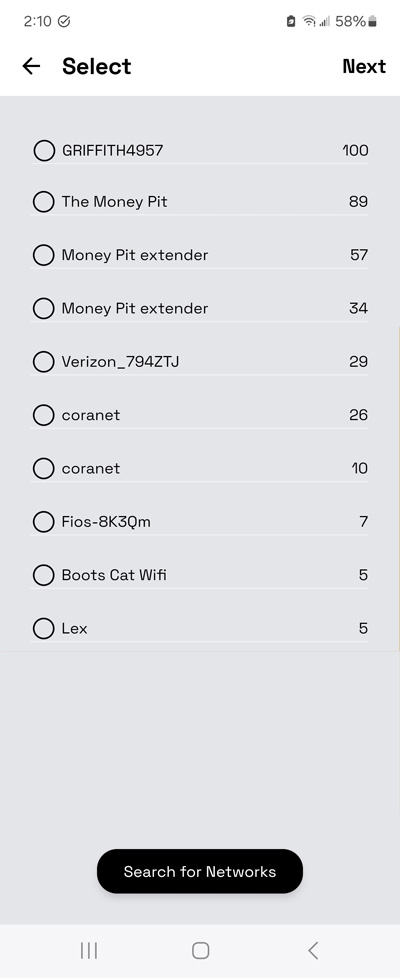
NOTE: These are all 2.4G networks that are available and in range of the controller.
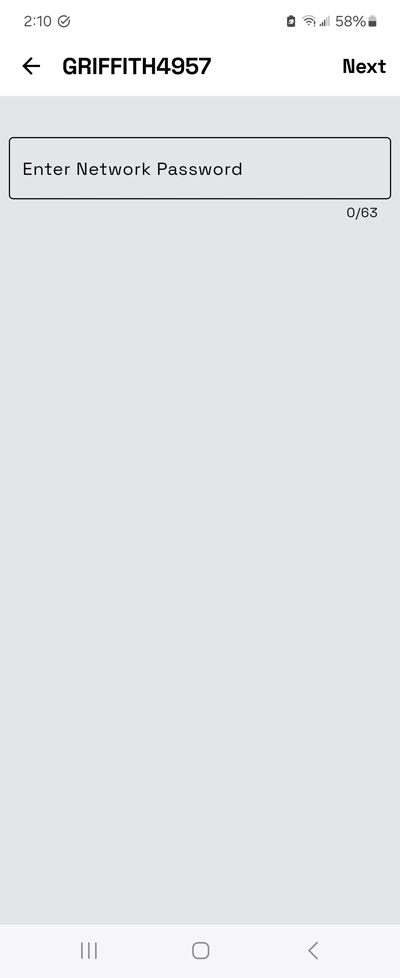
STEP 7) On the next screen, enter your WIFI password and then click NEXT.
STEP 8) The controller will then connect to that network (this may take a few minutes to complete).
STEP 9) Once the controller is connected successfully to your local WIFI network, close the JF Cloud 2.0 APP.
STEP 10) Now you can go back into your phone SETTINGS >> WIFI and change your phone WIFI back to your local WIFI network.
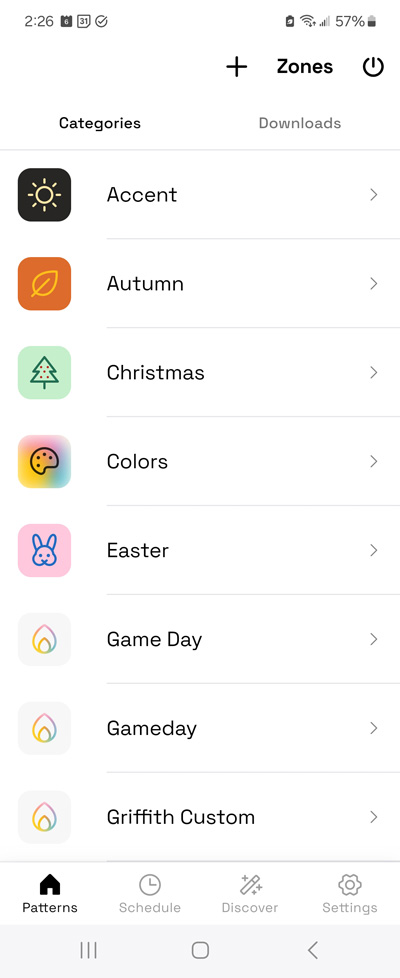
STEP 11) Once you have reconnected your phone WIFI back to your local WIF network, go back and open the JF Cloud 2.0 APP. The main preset screen should appear.
YOU’RE DONE
You can control now your Jellyfish lights from anywhere!
TROUBLESHOOTING
Sometimes after performing all of the steps above, it is helpful to reboot the controller and also reboot your smart device. The controller may take several minutes to reboot. After the controller reboots, wait for the WIFI signal strength meter to “settle down” and display the signal strength.
!C means no connection!!

Once a good signal strength is displayed, make sure your phone is connected to the internet and you should be able to open JF Cloud 2.0 App… and it should start up and allow you to control your lights.
